


Camellias are a beloved addition to many gardens, known for their beautiful flowers and evergreen foliage. Whether you’re a seasoned gardener or just starting out, learning how to propagate camellias can be a rewarding experience. In this comprehensive guide, we’ll walk you through the most effective methods of propagating camellias, including cuttings, seeds, and layering.
Table of Contents
– How to Propagate Camellias: A Step-by-Step Guide for Gardeners
– Understanding Camellia Propagation Methods
– Propagating Camellias Through Cuttings
– Choosing the Right Time to Take Cuttings
– Preparing the Cutting Material
– Rooting the Cuttings
– Propagating Camellias Through Seeds
– Harvesting and Preparing the Seeds
– Planting the Seeds
– Alternative Propagation Methods
– Conclusion
Understanding Camellia Propagation Methods

Camellias can be propagated using several methods, each with its own advantages and challenges. The most common methods include cuttings, seeds, and layering. While each method has its unique benefits, cuttings are often preferred due to their reliability and ability to produce exact replicas of the parent plant.
Propagating Camellias Through Cuttings
Cuttings are one of the most popular methods for propagating camellias. This method involves taking a portion of a healthy plant and encouraging it to grow roots, eventually becoming a new, independent plant.
Choosing the Right Time to Take Cuttings
The best time to take cuttings is during the spring or early summer when the plant is actively growing. This period ensures that the cutting has the best chance of developing roots successfully. It’s important to select a time when the plant is not under stress, such as during extreme weather conditions.
Preparing the Cutting Material
To prepare the cutting, select a healthy stem from the parent plant. The ideal cutting should be about 4-6 inches long and have several nodes (the small bumps where leaves attach to the stem). Make a diagonal cut just below a node to encourage root growth. Remove the lower leaves to reduce moisture loss and promote root development.
Rooting the Cuttings
Once the cutting is prepared, it’s time to root it. Use a well-draining potting mix, such as a combination of peat moss and coarse sand. Plant the cutting in a container filled with the mixture, ensuring that the cutting is buried up to the first set of leaves. Water the cutting thoroughly and place it in a warm, humid environment to encourage root growth.
To maintain humidity, cover the container with a clear plastic bag or use a propagation dome. Check the cutting regularly to ensure the soil remains moist but not waterlogged. After a few weeks, the cutting should develop roots, at which point it can be transplanted into a larger container or directly into the garden.
Propagating Camellias Through Seeds
While less common than cuttings, propagating camellias through seeds can be a fun and educational experience. However, it’s important to note that plants grown from seeds may not be identical to the parent plant, as they can exhibit variations in flower color and form.
Harvesting and Preparing the Seeds
Camellia seeds are typically harvested in the fall when the seed pods begin to crack open. Collect the seeds and soak them in water for 12 hours to soften the outer shell. This process helps to speed up germination. If the seeds are difficult to germinate, you can carefully crack the hard coat to aid in the process.
Planting the Seeds
After preparing the seeds, plant them in a well-draining potting mix. Keep the soil consistently moist, but avoid overwatering. Place the container in a warm location with bright, indirect light. Germination usually occurs within a month, although some seeds may take longer to sprout.
Once the seeds have germinated, transplant the seedlings into individual containers or directly into the garden. If planting in containers, snip off some of the taproot to encourage a more fibrous root system, which is beneficial for container growth.
Alternative Propagation Methods
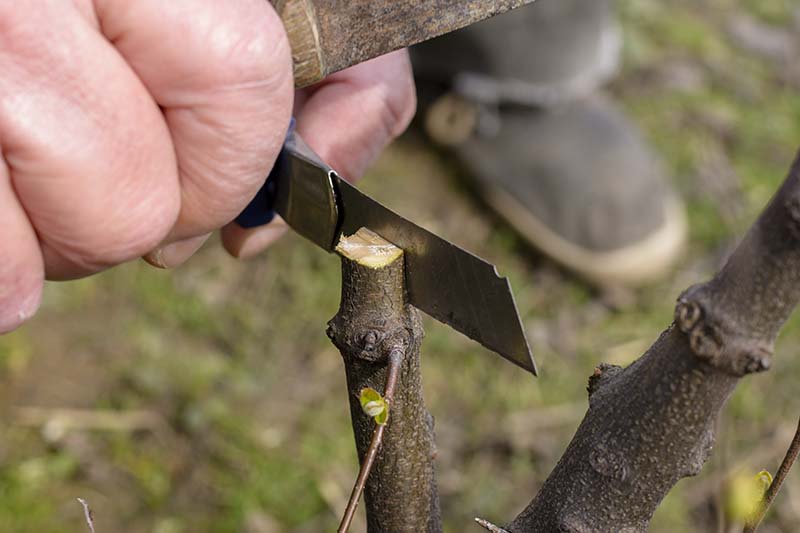
In addition to cuttings and seeds, there are other methods for propagating camellias, such as layering and grafting. Layering involves allowing a branch of the parent plant to develop roots while still attached to the main plant. Once the branch has rooted, it can be separated and planted as a new plant. Grafting, on the other hand, requires more skill and is typically used by experienced gardeners to combine different plant varieties.
Conclusion
Propagating camellias can be a rewarding experience that allows you to expand your garden with beautiful, healthy plants. Whether you choose to propagate through cuttings, seeds, or alternative methods, following the right techniques will increase your chances of success. With patience and care, you’ll soon have a thriving collection of camellias to enjoy in your garden.


More Stories
How to Make Soil More Acidic: A Complete Guide for Gardeners
How to Propagate Crown of Thorns: A Step-by-Step Guide for Gardeners